
Create a plugin
Before creating an application, choose a suitable plugin type.
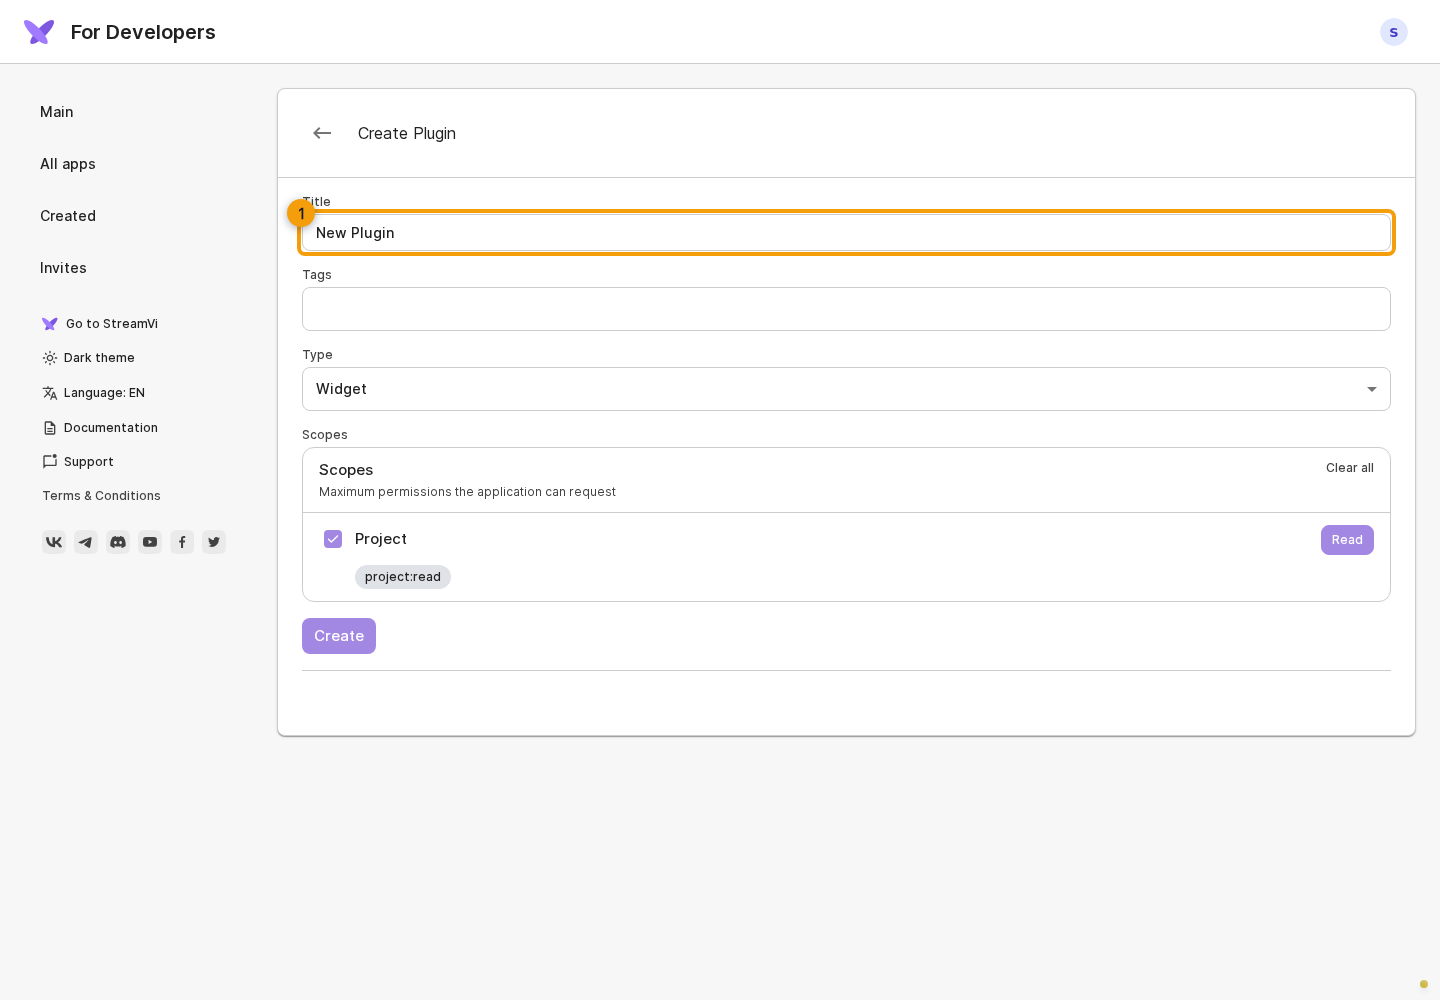
In For developers, click Create plugin. Enter a clear name and tags: chat, analytics, payments, automation, donations, design or utilities. Tags describe the purpose; they do not grant data access.
Choose the application type that fits your task: OAuth integration, Widget or Embedded page.
In Scopes, select access to the data your application will use, such as projects, channels or videos. The required scope codes are listed with the methods you use in the API reference. Choosing a plugin type does not grant these permissions by itself.
Check the access level in the selected group. If the application only needs to retrieve the broadcast status, Read in Project is sufficient (project:read). Choose Read and write for methods that change data. Enabling a group that offers this level selects it by default, so explicitly switch to reading if that is all you need. The selected permissions determine what access the application can request; users approve the requested permissions when connecting.
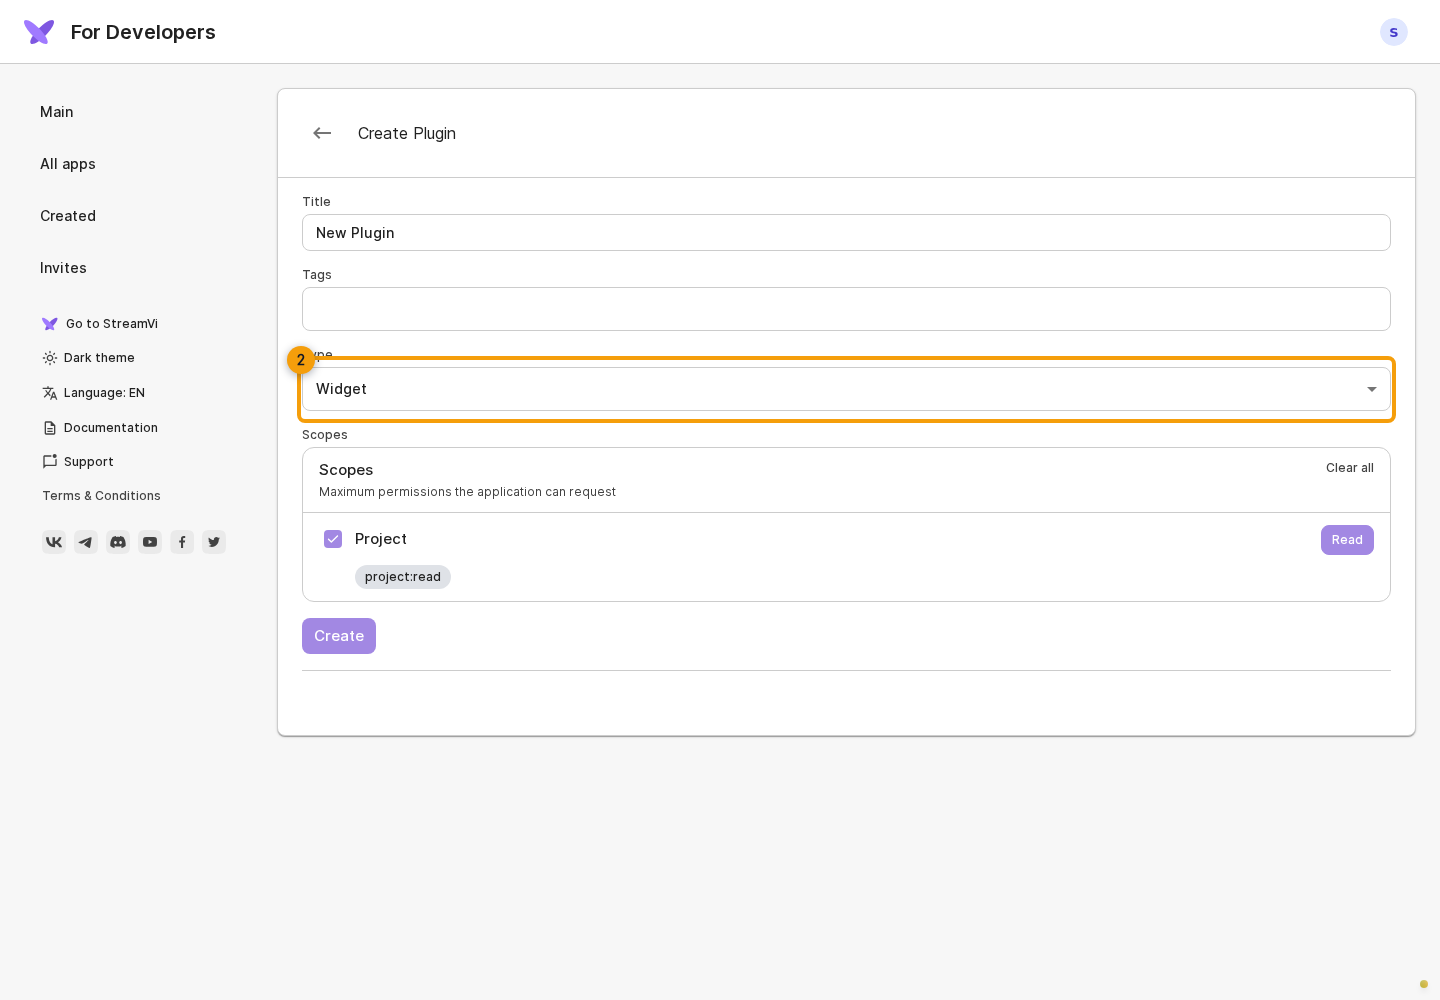
The screenshots show a demo with project read permission. Choose permissions for your own task. If the permission list fails to load, resolve that error first. The current Cabinet has no form for changing an existing application's type or permissions, so check them before creating it.
Click Create. On error, correct the marked fields.
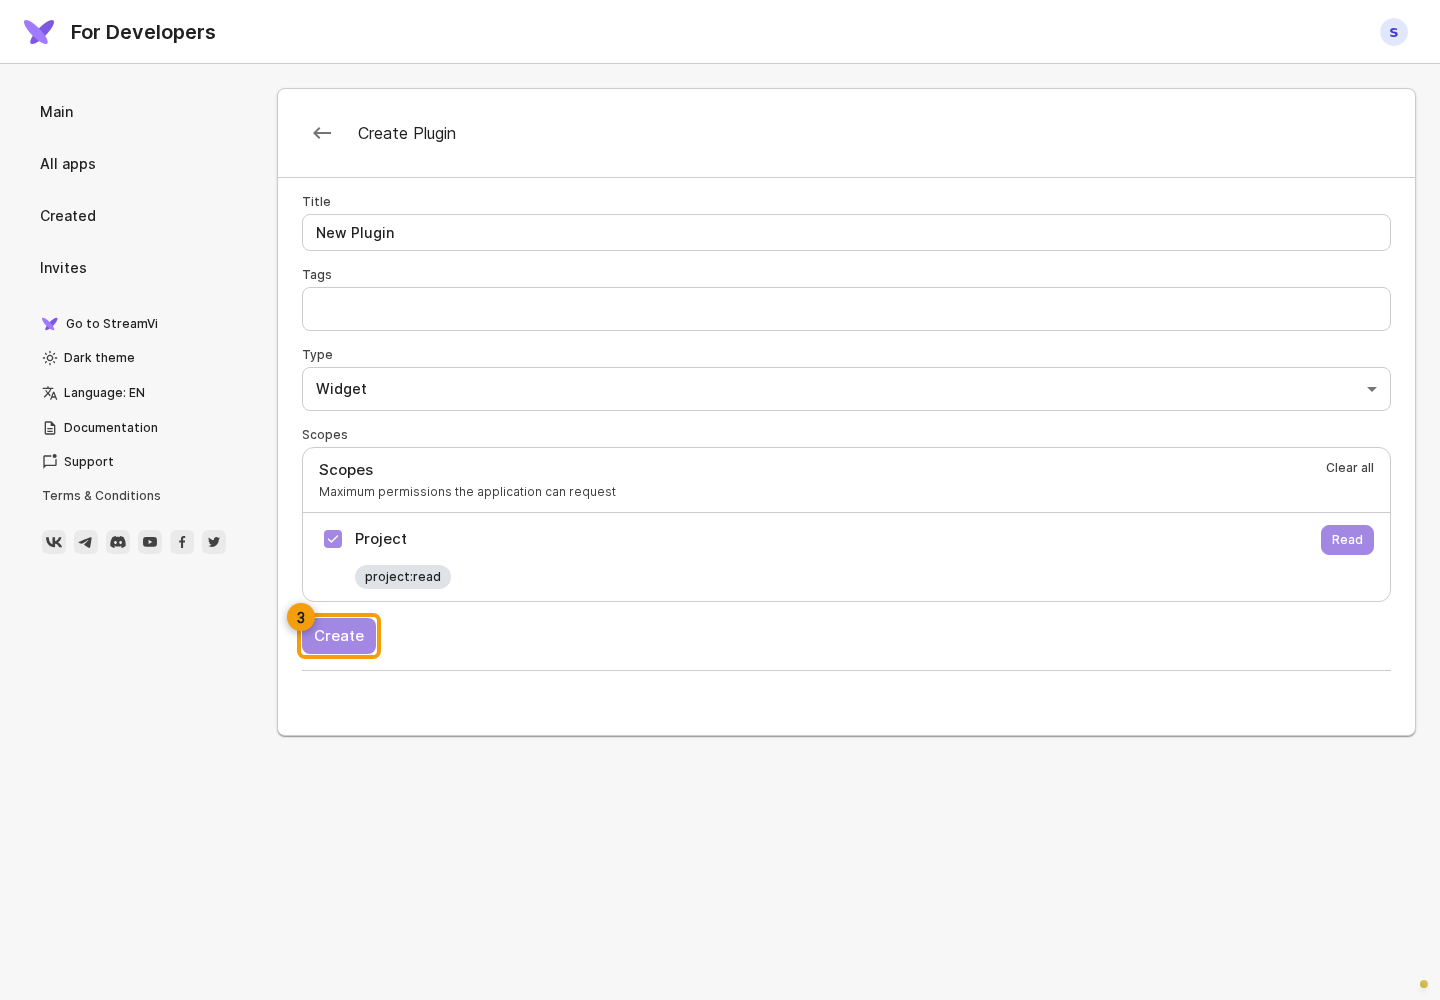
After successful creation, the application information page opens. Then fill in information, upload images and configure URLs in settings. Creating the application does not publish it in the public catalog or install it in projects.